Research


http://www.screendaily.com/

http://www.indiewire.com/2017/01/evaluating-best-editing-oscar-films-1201767787/

http://www.indiewire.com/2016/12/la-la-land-manchester-by-the-sea-editors-oscars-2017-1201758758/

https://thepanoptic.co.uk/2017/01/12/oscar-shorts-potentials/
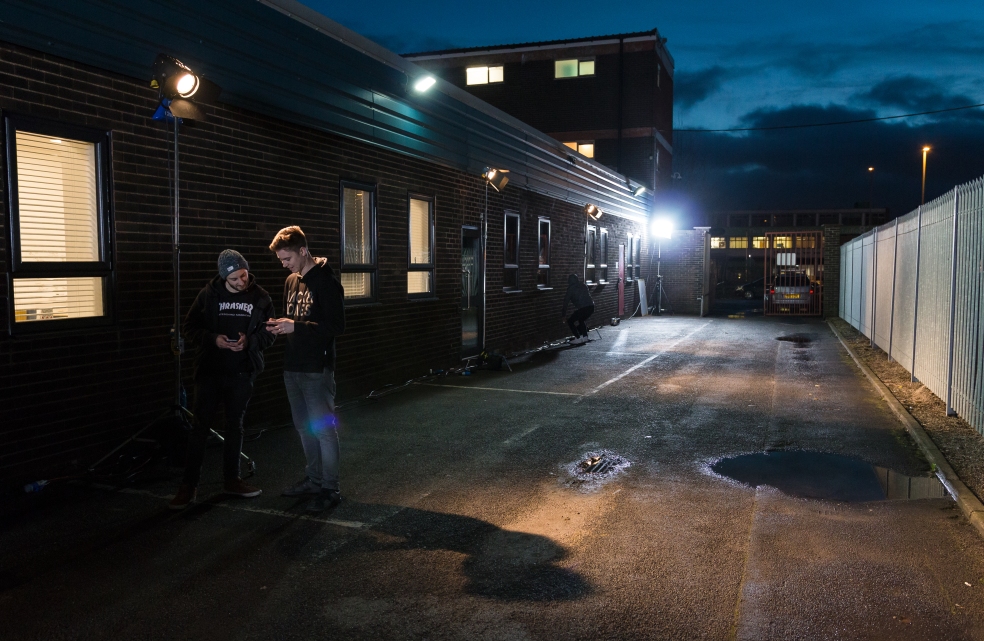
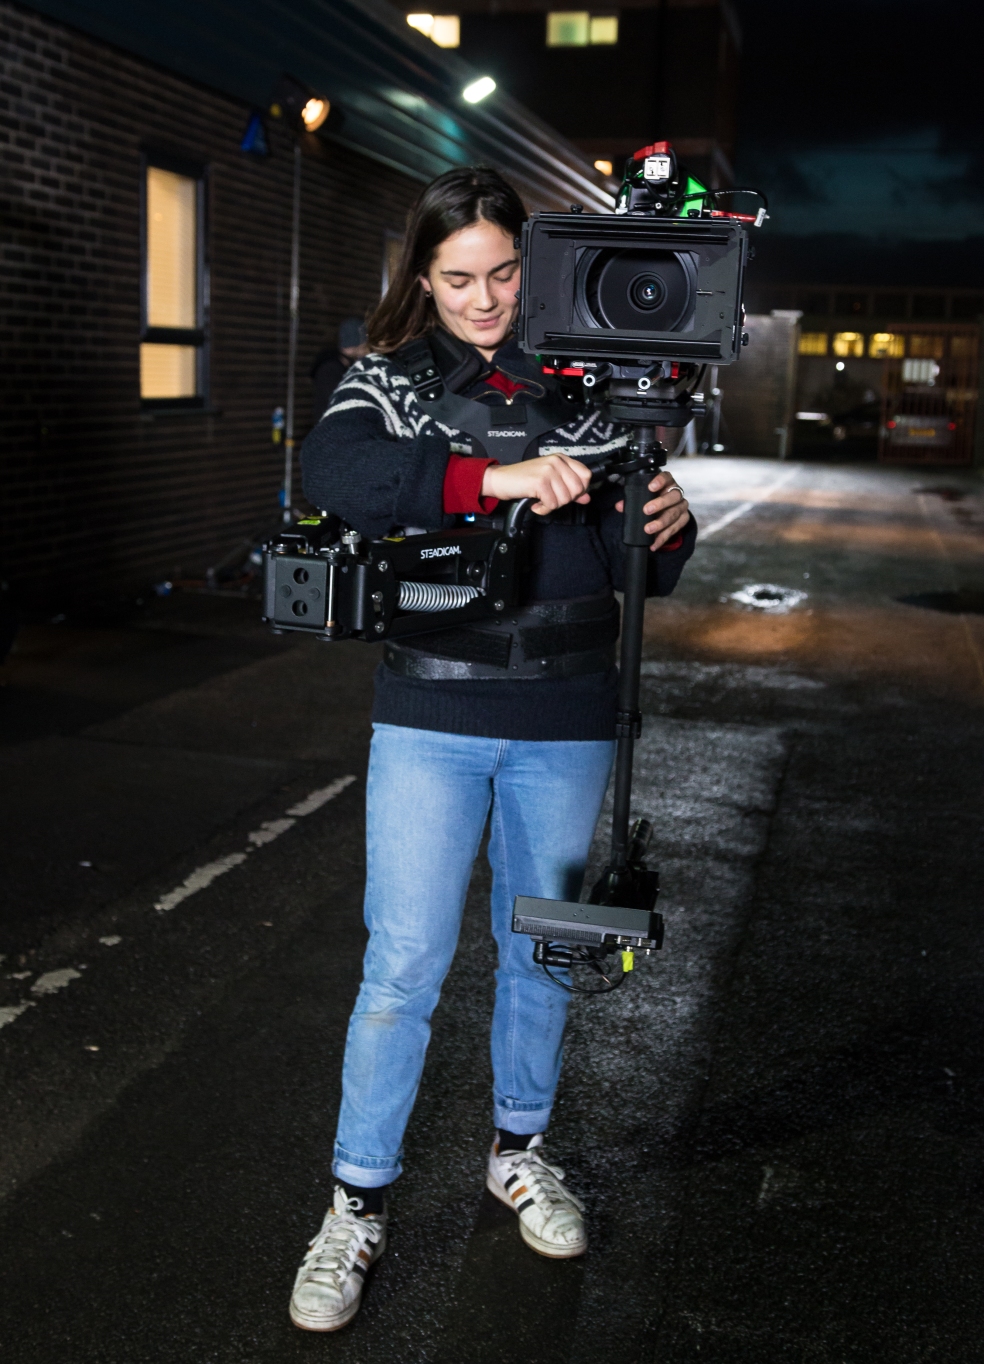
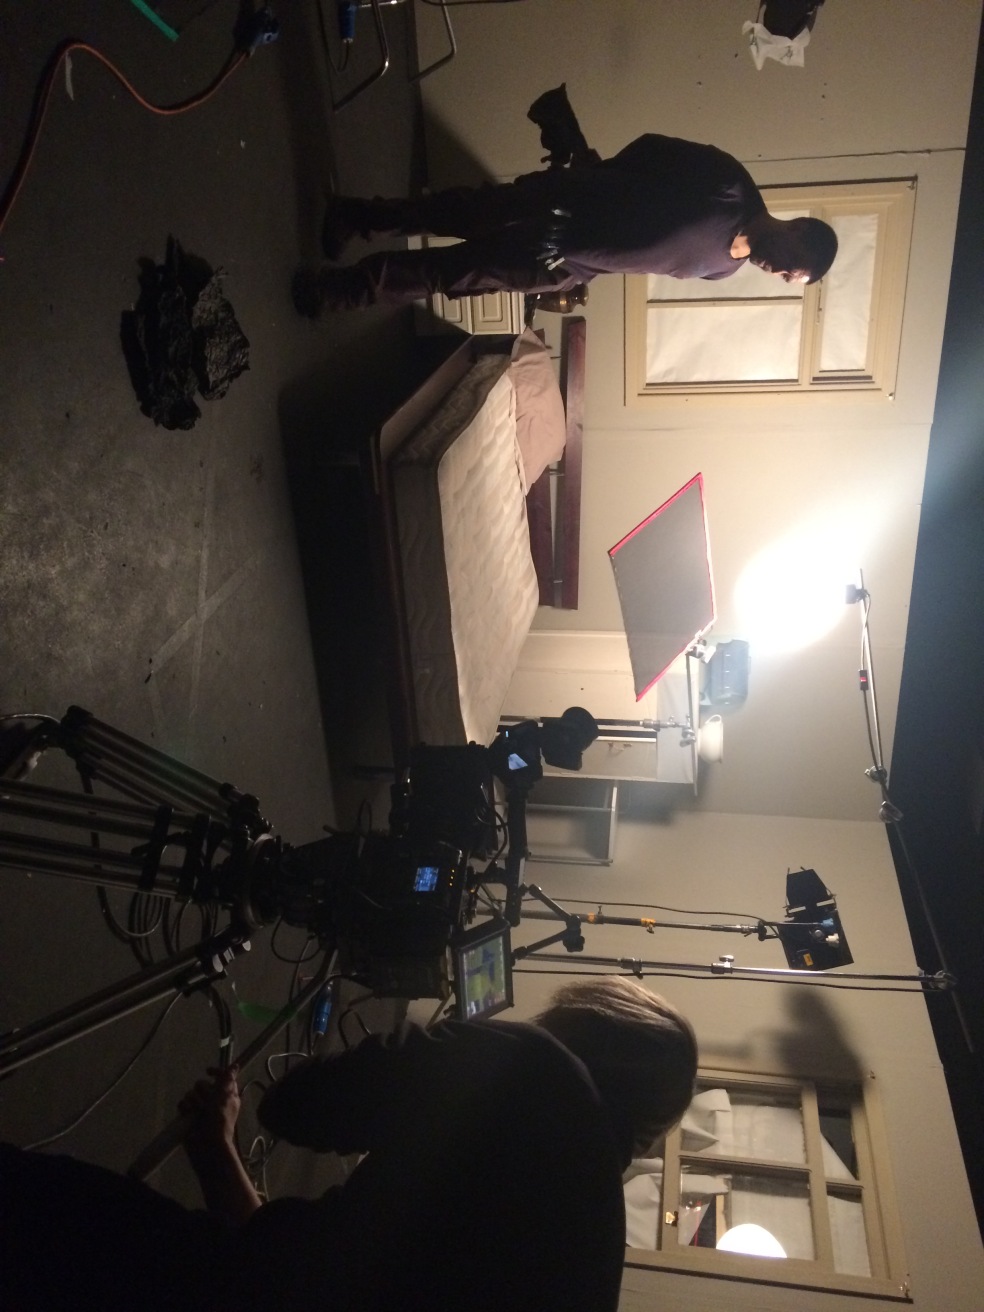
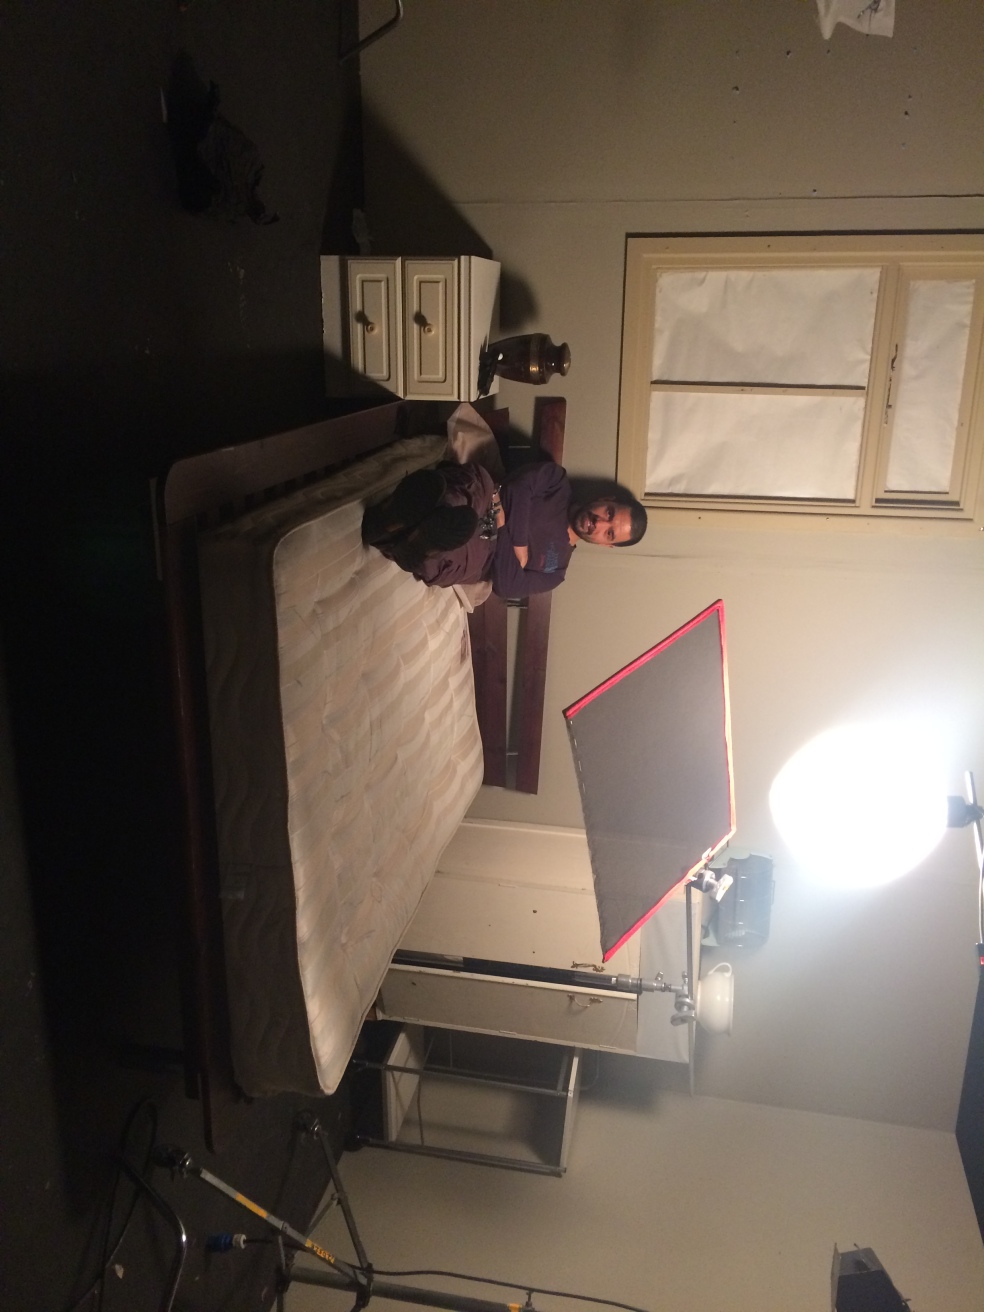
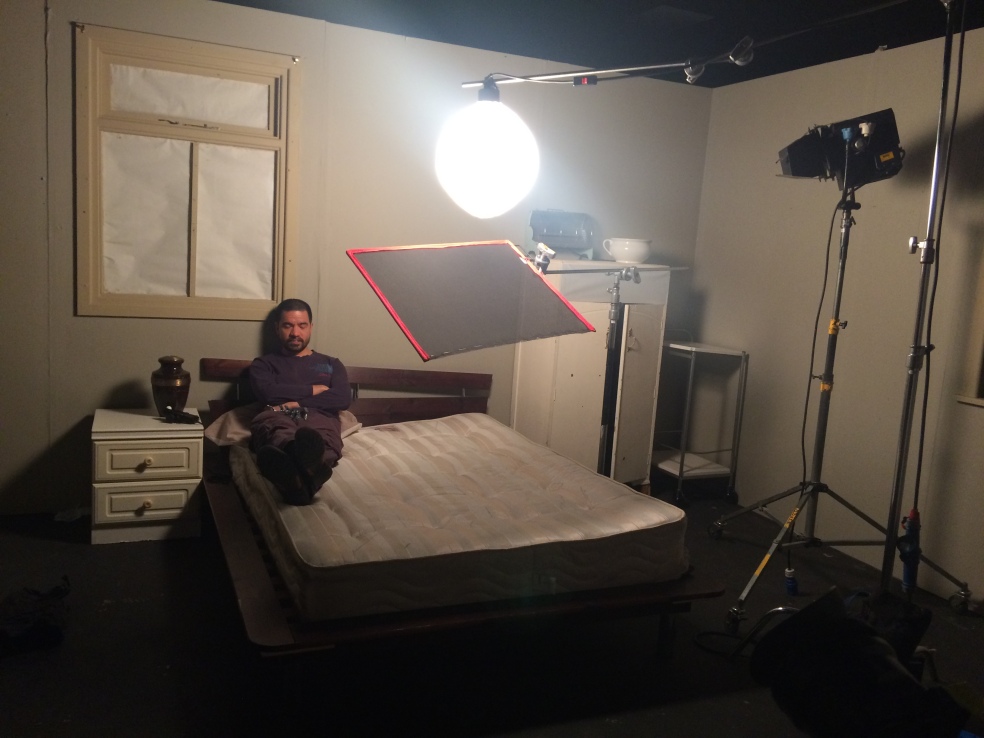
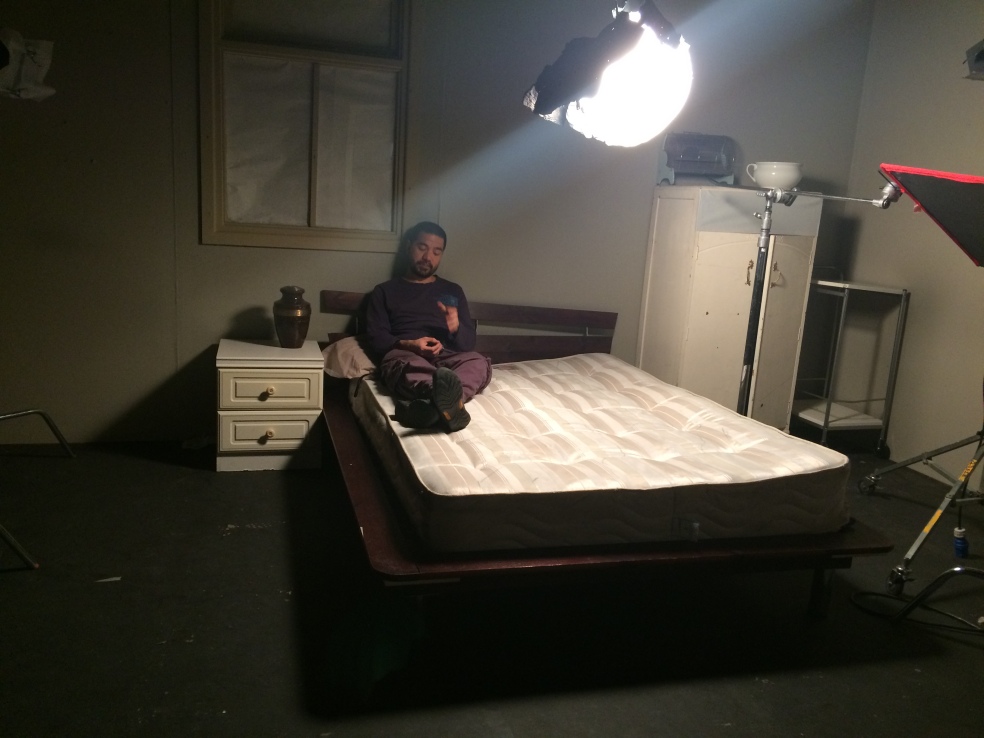
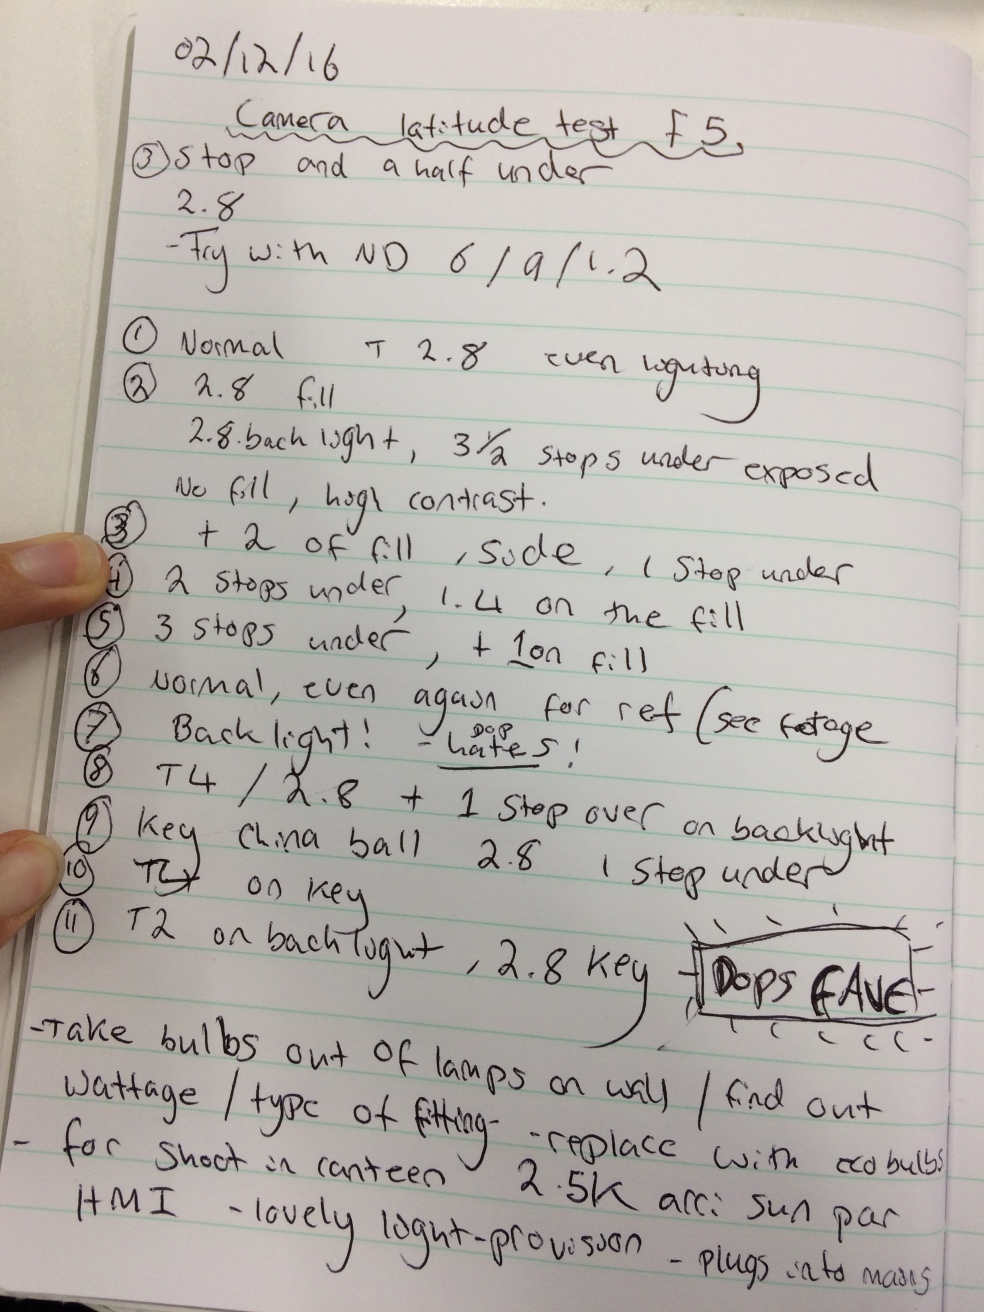
Steadicam research

http://www.indiewire.com/2015/10/watch-learn-the-art-of-steadicam-from-this-gorgeous-supercut-176421/

https://www.filmindependent.org/blog/know-your-crew-birdmans-steadicam-operator-tells-all/ – As Birdman proves, in the right hands, a Steadicam is a versatile and elegant tool. “There are a lot of other ways to move a camera these days,” Haarhoff admitted. “You can move it on a crane, and you can move it handheld, of course—but the Steadicam has the ability to be seamless, and give the audience a particularly close relationship with the actors. It can do some really cool stuff.”

Haarhoff has worked repeatedly with such directors as Steven Spielberg, Tony Scott and Cameron Crowe—he named Almost Famous as one of his favorite projects he’s worked on. He also especially liked shooting Fight Club: “We had one particularly great shot,” he recalled, “that [David Fincher] gave us time to develop and practice and rehearse—when the character is first introduced to the bar where the fight club happens, when they first arrive there. It’s got a real good vibe to it.”

https://filmmakermagazine.com/93916-steadicam-operator-larry-mcconkey-on-filming-the-goodfellas-copacabana-tracking-shot-and-the-early-days-of-steadicam/


http://www.notey.com/@core77_unofficial/external/13061697/the-revolutionary-steadicam-turns-40.html


View at Medium.com

Home – Directors Workshop Test Shoot

The ‘Home’ test shoot went really well and we all worked together very well. We had a huge amount of shots to get through for the day but some how managed to get around 26 shots, only cutting a few unnecessary ones. The set up time was quick, which meant we were able to do up to 4 takes when we needed to. The set looked incredible, which none of us were really expecting, but it really helped us visualise the scene properly. Everything was going very smoothly, up until the lights fused and no one could figure out why this had happened. We decided to send the rest of the crew and actors on lunch while we checked each and every cable, light and plug, to figure out what had gone wrong. We took down all the lights until we found that the cable of a 1K light had been draped over the top of it, eventually melting the rubber casing and essentially making the entire lighting stand and light alive! Luckily no one had touched it and luckily it had fused! We were all pretty shaken up by this, as a group of cine students the group of us working on this particular shoot were probably the most engaged in the classes and workshops and love to get involved in every way possible. It was a real shock to see how easy it is to make such a rookie error. However, I can gladly say that not a single one of us will ever make that mistake again and we will always take extra care when working with lighting equipment.

We set up again after lunch an continued filming. Here is a colour graded example of the shot


The Deserters Test Shoot

Here are some of the rushes (ungraded) from the test shoot. We shot on the f5 so decided to shoot at its native ISO of 2000, but have since decided that it is not the best decision due to the noise. For the final film we will shoot at ISO 800, as we will be using a lot of natural light, this means will have a safety margin of up to ISO 2000 if it is too dark.

I have had a fair bit of practise operating on the Quad dolly since the workshop and felt this shot did work quite well:

This shot really captures the mystery and gangster feel of the film, building tension slowly:

We hadn’t planned this handheld shot at all but it was fun to do. This particularly noisy shot is exactly why we will start at iso 800 and potentially move up to ISO 2000 if essential.

Zak (DP) edited the clips together and graded them- its so helpful to block out this scene before the actual shoot as its given me a lot to think about in terms of composition. Luckily we have been made aware of the issue of the native ISO being simply too noisy. We now know for the actual shoot we really shouldn’t go over 800

Beyond Caravaggio

I visited the National Gallery to see the Beyond Caravaggio exhibition where I was instantly able to see why Caravaggio inspired such a multitude of followers. He toys with shadows and single source lighting to create dramatic and emotive narratives, consisting of normal looking people rather than royalty or the wealthy (which was common of his time). After hearing so much about his work, particularly from cinematographers at Camerimage Film Festival, it was an amazing opportunity to actually get to see his work.

boy-bitten-by-a-lizard-c-1592-93david-with-the-head-of-goliathdoubting-thomasmartyrdom-of-st-ursula

 Painting with light 

Beata Beatrix c.1864-70 by Dante Gabriel Rossetti 1828-1882xxfxx


Setting up the Steadicam Scout

  1. Setting up the Sled (00:00-02:43 mins)
  • Mount the docking bracket on the stand and lift the sled out of the box and slide docking ring into docking bracket and lock securely
  • Attach the battery, monitor and any other accessories making sure the are securely tightened
  • Centre fore and aft and side to side adjustments by turning the knobs on the camera stage – keeping everything central
  • Mount camera on sled with the mounting plate, firstly finding the cameras centre of gravity (place camera on pencil and roll back and forth and side to side until it balances)

2. Balancing the rig: 4 key stages (02:43 + )

  • Static balance keeps the rig in an upright and level position whilst hanging from the gimbal
  • Dynamic balance keeps the rig upright when panning
  • Inertial balance determines how resistant the rig is to angular changes
  • The operator must attach the arm to the vest and balance it for her own body


Setting up the Sony F5/ F55

Although there are various ways to set up the F5/55 depending on what is is being shot, here I have demonstrated how I will set it up when shooting my graduation film Beached Whale.

  • Reset factory settings: user menu – system- reset – execute
  • user menu – system setting – frequency – 25 – execute
  • System – base setting  – shooting mode – Cine EI
  • System – base setting -Main operation – YPbPr
  • System – base setting – colour space – normal
  • System – rec format – XAVC 2048 x 1080p
  • System assignable buttons 1) Zebra 2) Peaking 3) Display 4) Record
  • Video – Output on/off
  • Main SDI & Internal Off
  • SDI sub and HDMI ON
  • Video – Monitor LUT – P5
  • Video – Monitor LUT – Viewfinder – ON
  • ISO 800


Beached Whale Camera Tests


Hannah and I spent the afternoon in Prime doing a few camera tests for the BnB scene of the script. The elderly couple will be lying on the bed for the entire scene and it is one of the only scenes using lighting. We measured out the size of the space we were going to have to work with. i set up the F5 while Hannah put up various nets to funnel the light more on to the face of the subjects and less on the body.

1234

The  settings for the F5 were: 1/50, 25 fps, 3200, slog 3, 1920x1080p, 2.8 t stop – with a lovely chunky wave form.

As well as using the nests to direct the light Hannah also experimented with ‘skirts’ of black wrap around one half of the china ball.

Latitude test for the F5 to find the best conditions for the camera to shoot in

img_7169-1

Link to rushes from test:

We also looked at alternatives for the steadicam such as the Easyrig for use in the final scene on the beach. We looked at the final scene of Submarine but decided that it movement is too jarring and distracts the audience from the story too much.

The Easyrig is a happy medium between handheld and Steadicam. We are going to visit Provision soon to test one out and see exactly what type of shots we could achieve.